BoardCraft Quick Start: Create Your First Board
New to BoardCraft? Follow this beginner-friendly walkthrough to create a classroom board, add your first elements, save your work, and choose the right export.
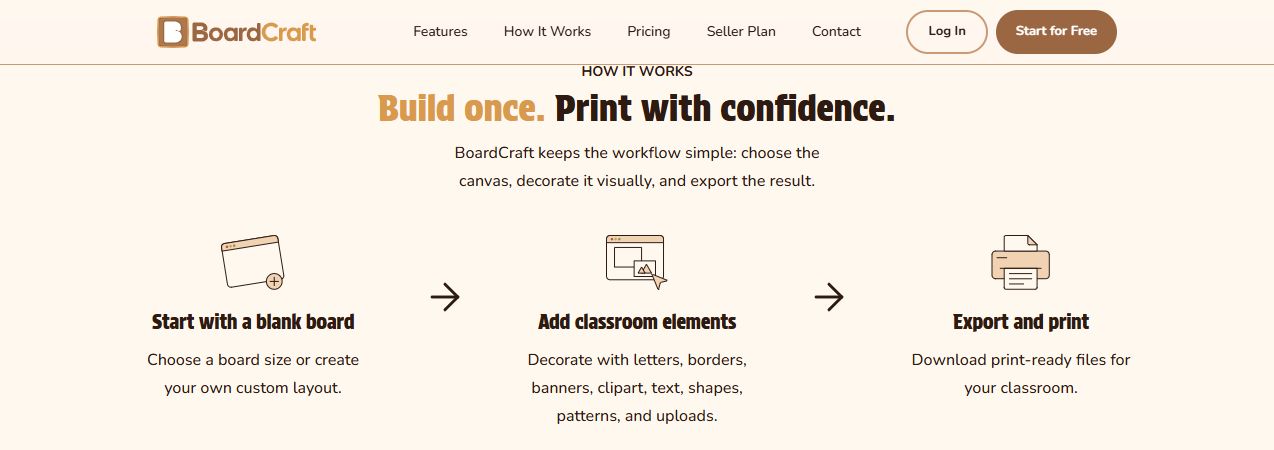
Step 1: Create a board and choose its size
Sign in to BoardCraft and open your Dashboard.
Select Create a board.
Choose one of the preset classroom sizes, such as 48 × 36 inches, or enter your own width and height under Custom Size.
BoardCraft creates the board and opens it in the editor.
Step 2: Give the board a useful name
New projects begin as Untitled Board. Click that title in the top toolbar, enter a descriptive name, and press Enter.
A name such as “Fall Reading Board” or “Room 12 Welcome Display” is easier to find later than “Board 1,” especially after you create several projects.
Step 3: Choose a background
Open the Board tab in the left tools panel. Choose a solid color or a pattern that supports the rest of your design.
Start with a calm background and add decoration afterward. A simple background makes titles, names, and clipart easier to read from across the classroom.
Step 4: Add text, letters, and clipart
The left side of the editor contains the tools you will use most often:
Clipart
Browse or search classroom illustrations and patterns. Select an item to add it to the board.
Letters
Inside Clipart, switch to Letters, choose a letter set, and use the Word Builder for a decorated classroom title.
Text
Choose a font to add a text element. With the text selected, edit its wording and appearance in Properties.
Upload
Add your own images when your plan includes personal uploads. Use artwork you own or have permission to use.
Shapes
Add simple shapes for labels, panels, highlights, and visual structure.
Board
Change the board background and return to it whenever the overall color or pattern needs adjustment.
For a first project, keep the design small: add one title and two or three decorative elements. You can explore banners, borders, name tags, and more advanced effects after you are comfortable moving elements around the canvas.
Step 5: Arrange and edit the design
Select an element on the canvas, then drag it into position. Use its handles to resize or rotate it. The right side of the editor helps with precise changes:
Properties changes the selected element’s text, color, size, fill, outline, and other available settings.
Layers controls which elements appear in front of or behind others and lets you select items that overlap.
Settings contains editor preferences, including Autosave.
Use Undo if an edit does not look right. You can also zoom out or use Fit to screen to check the whole composition instead of focusing only on one corner.
Step 6: Save your work
Select Save in the top toolbar and wait for the status to change to Saved. Do this before leaving the editor and before exporting an important project.
If you enable Autosave in Settings, BoardCraft also saves changes automatically about every 60 seconds. Manual Save remains the clearest way to confirm that the latest version is stored.
If BoardCraft reports a save conflict because the board changed in another tab or session, resolve the conflict before continuing. Do not assume Autosave will overwrite the other version.
Step 7: Export for sharing or printing
Select Export in the top toolbar. Choose the option that matches what you want to do:
Option | Use it when | Result |
|---|---|---|
Save as Image (PNG) | You need one high-resolution image for a preview, digital display, or image-based print workflow. | A single PNG of the complete board. |
Save as Document (PDF) | You want a print-ready document that preserves the complete board layout. | A single PDF using the board’s dimensions. |
For a classroom display that you will cut out and assemble, start with Export for Printing. For a preview of the entire finished board, choose PNG. For a complete-board print document, choose PDF.
Your first-board checklist
The board has the right physical dimensions.
The title is readable when the whole board fits on screen.
Important elements are not hidden behind other layers.
The project has a descriptive name.
The toolbar shows Saved.
The selected export matches how you plan to print or share.
Ready to build your first board? Open BoardCraft, choose a size, and aim for one clear title plus a few supporting elements. Your first design does not need to use every tool.